
At art shows, I’m often asked what it is I’m creating. So I thought I would break down the steps. Everything from initial inspiration to final wall art.
The Inspiration
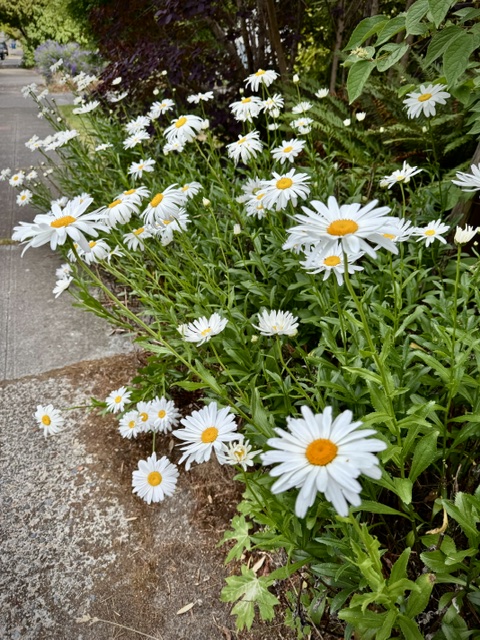
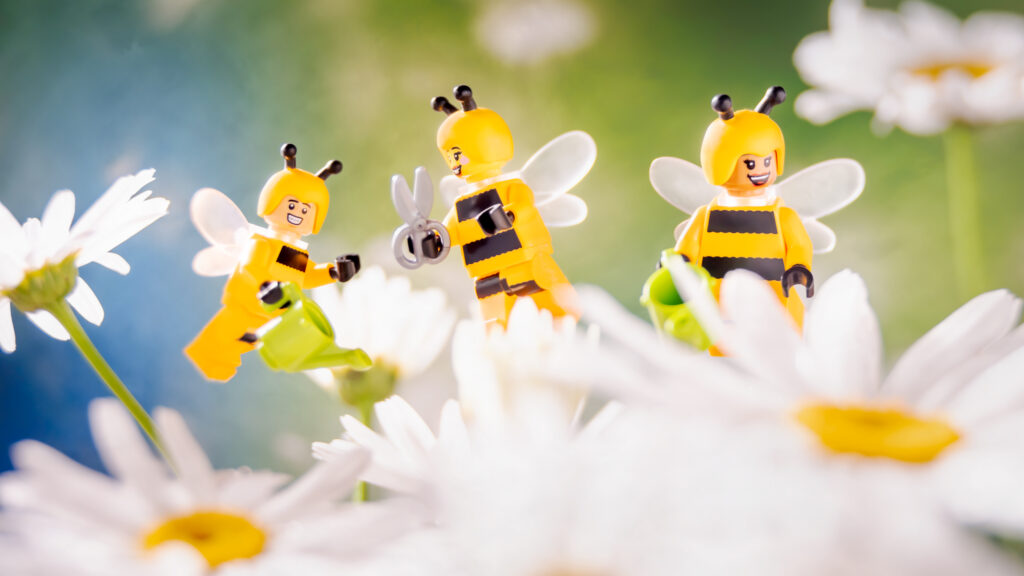
Every image starts with an idea. Sometimes those ideas are triggered by a memory, a reflection of pop-culture or inspired by nature. My newest piece, ‘Busy as a Bee’ is inspired by a clump of daisies at the end of my driveway. On certain spring mornings they’re bathed in a golden light. I always imagine how I can capture a group of LEGO bees flitting amongst these large blooms.
I tell the participants in my workshops that every toy photo is a problem to be solved. And for this idea Ive been struggling with how to support the figures so far off the ground. Should I float them from above or raised on sticks from below? Neither solution felt right considering the location.
Creative Clubhouse challenge
In a recent Creative Clubhouse (my monthly meet-ups for workshop participants in good standing) I challenged everyone to create an image featuring a flower. This challenge forced me to solve this “bucket list” image.
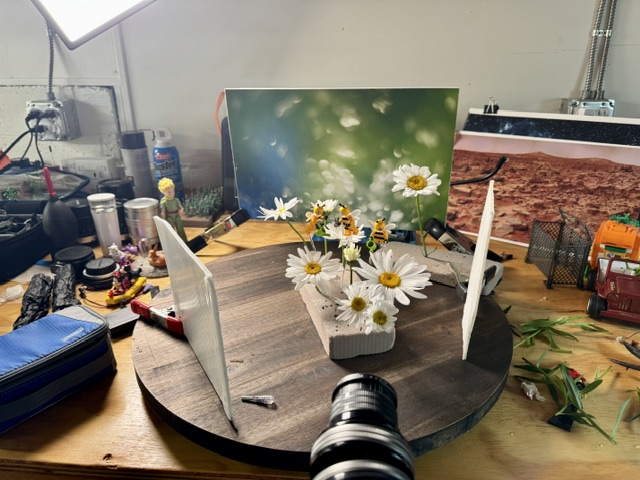
While I was muling over possible solutions I realized how much easier it would be if I simply moved the flowers into my studio. Maybe not all of them, but enough.
Once I had this insight – the image fell neatly into place.
Thats’ only the beginning
Frankly I love this image and immediately wanted to create an encaustic version. Due to the nature of my lens choice, and my set-up, it wasn’t immediately obvious what should be highlighted as a layer. Not every image results in clean lines suitable for cutting. But I’ve learned over the years that the human mind is forgiving and I have more leeway than I think.
Step #1
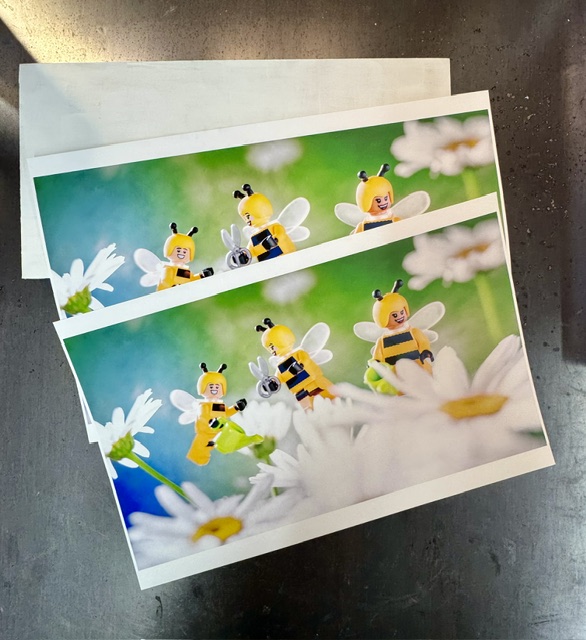
First I sand, tape and prep the hard substrate that will support the encaustic medium. While the board is drying I printed out two copies of the image. One will be the base layer while the second copy I will cut up to be the top layer.
Step #2
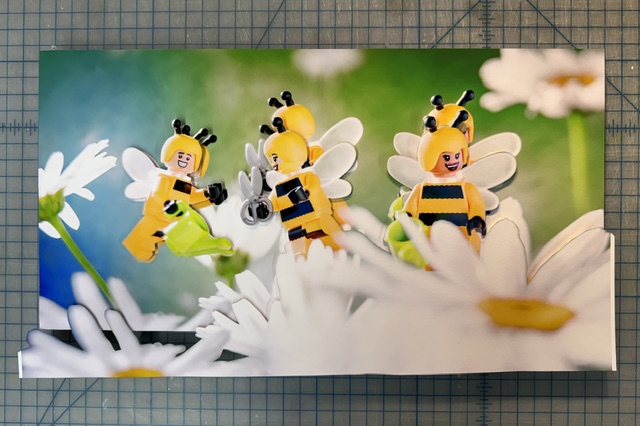
One layer is mounted to the board while the other is cut into pieces. I use a sharp knife to cut out the areas of the photograph I want to elevate. I place a 2-ply board between the two photographic layers to create additional depth. All these parts are then assembled and glued to the base layer.
When everything is dry (at least 24 hours), it’s time for the fun part!
Step #3
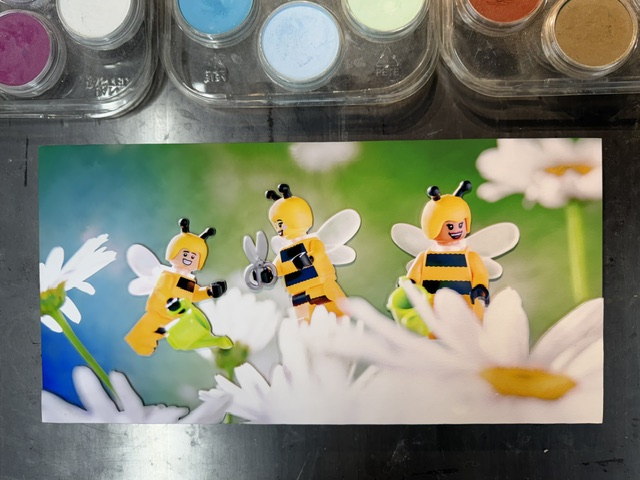
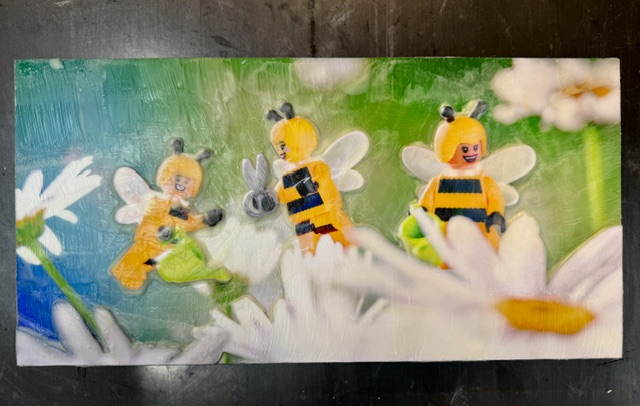
In this step I like to add a few painterly flourishes. While the lenses I use (Lensbaby) already create a photo that feels like a painting – I like to push the effect a little further. I use crayons, pastels and pencils to add additional color and details to the surface of the photograph.
Step #4
My favorite part of the process is adding the wax to the surface. I find the process of fusing the encaustic medium (the wax) with the photograph to be relaxing and mediative.
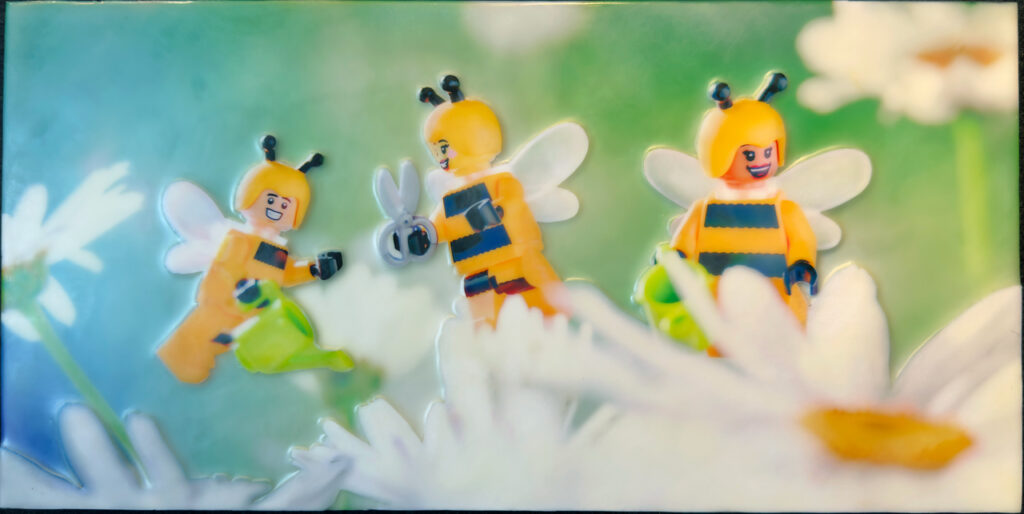
Building up the surface enough to fill the gap between the two photographs involves painting multiple layers of hot wax onto the surface. I use a heat gun to fuse each layer to earlier ones. This process creates a rich and luminous surface that adds to the magical nature of my images.
Final image
Personally I love the final results. Combining my photos created with my art lenses and then finishing them with a painting medium makes them feel like paintings. Each step in the process takes my work a little farther away from a traditional (think everything needs to be in focus) photographic aesthetic. Each piece becomes an invitation to see the world through my magical world of toy photography.
Conclusion
I started this journey eight plus years ago with a poorly formed idea: create layered photographic images. I didn’t know what I was doing or really where to start. So I just started, trusting I would figure it out along the way.
Sure I created a lot of work that has found its way to the trash, but I learned so much through those dead ends. Several seemingly random conversations gave me important pieces to my puzzle.
The creative process is always a bit of a mystery. But Ive learned that it’s best to get started and figure out along the way. Trust is an important part of creativity. The information that I needed always appeared when I need it.
And the journey isn’t over yet. I’m still learning what’s possible when I combine encaustic with photography.
I hope you enjoyed this glimpse into my process – from inspiration to finished wall art.
“You’re going to miss life. You’ve got to jump off the cliff all the time and build your wings on the way down.”
— Ray Bradbury
2 Responses
Very cool. I feel like this could have made an interesting YouTube video.
Yeah, I believe it would be cool to show the actual process in video form. I just need a partner in crime…🤔