
I’m frequently asked what is encaustic medium and how do I combine it with photography. Encaustic medium is a combination of beeswax and damar resin that is melted and painted on a hard surface. Which is why encaustic painting is referred to as hot wax painting. The originals of this technique can be found all the way back in the Greece and Rome empires.
By fusing encaustic medium with photo paper through a heat process I’m able to create multi dimensional wall art that blurs the line between painting and photography. While my original photography already has a painterly feel due to my particular lens choice. I’m able to push the line even further by adding painterly flourishes by adding pan pastels to the surface or oil pigments to the surface.
I especially enjoy adding further dimensionality to the piece by adding photo layers or by removing the medium from the subject. Its this additional attention to detail that sets apart my work from a traditional photography. One that I feel elevates the humble toy subject to a work of art.
Because a photo is worth a thousand words, Ive created a series of images that will show you the major stages that every images goes through – from simple photograph to finished piece.
All my images have the ability to be transformed into one of these unique wall pieces. Simply contact me at sjcorbett@mac.com with your request.
Encaustic Process Explained
Step 1
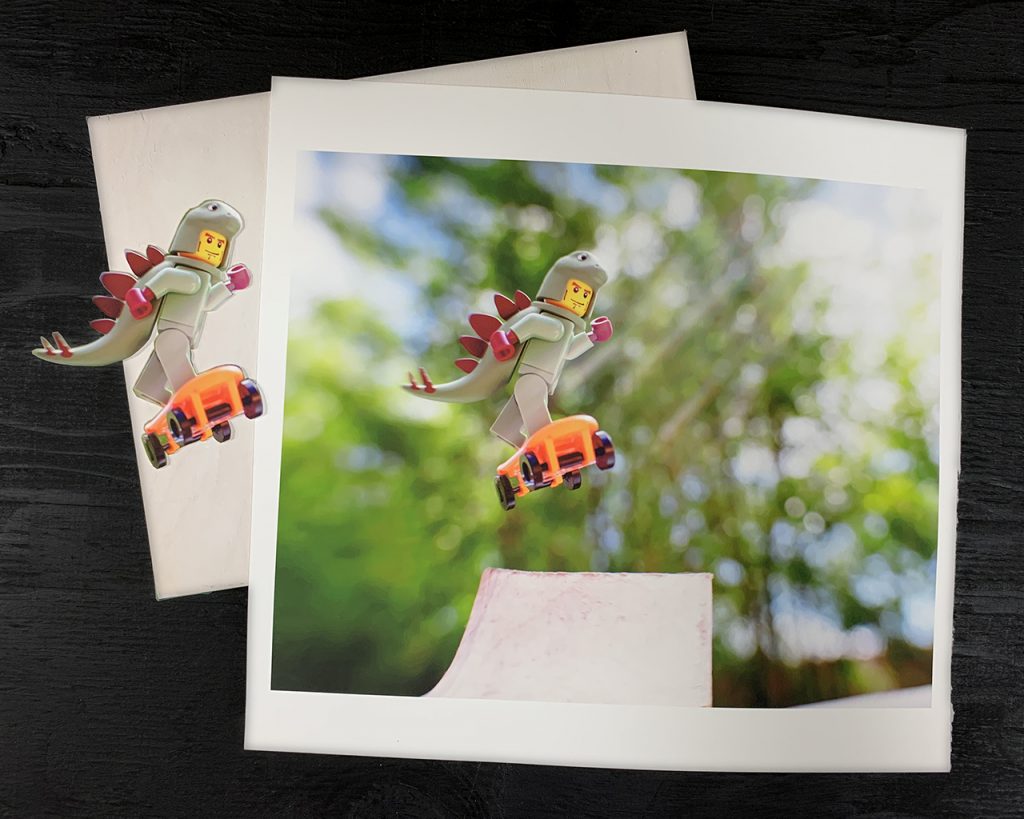
Each unique encaustic piece begins with a prepped, hard substrate and the photographic image. This base image is adhered to the substrate using archival glue. For pieces with multiple layers a second image is cut out and glued to the image with archival 2-ply board in between.
Step 2
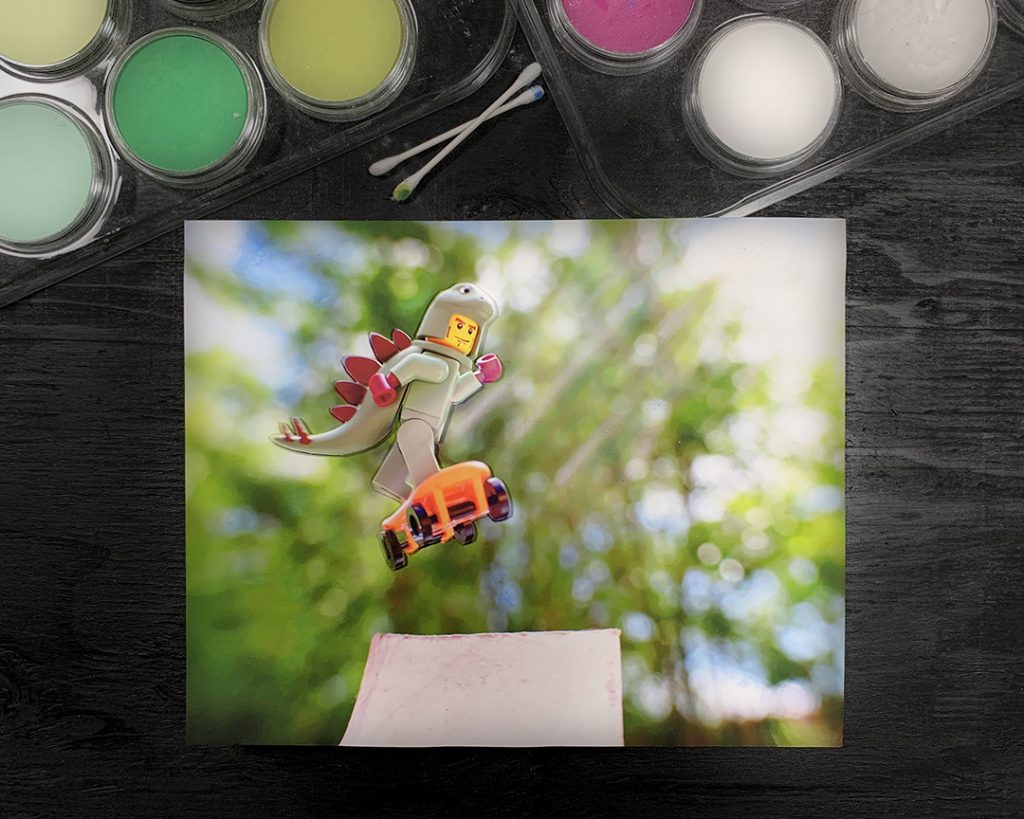
Then I add additional color to the photograph. I use pan pastels to bring up color in areas that might be dulled by the encaustic medium. This is one more chance to get creative and have fun with the process. While these flourishes might not be obvious under the wax, they make each piece a unique piece of art.
Step 3
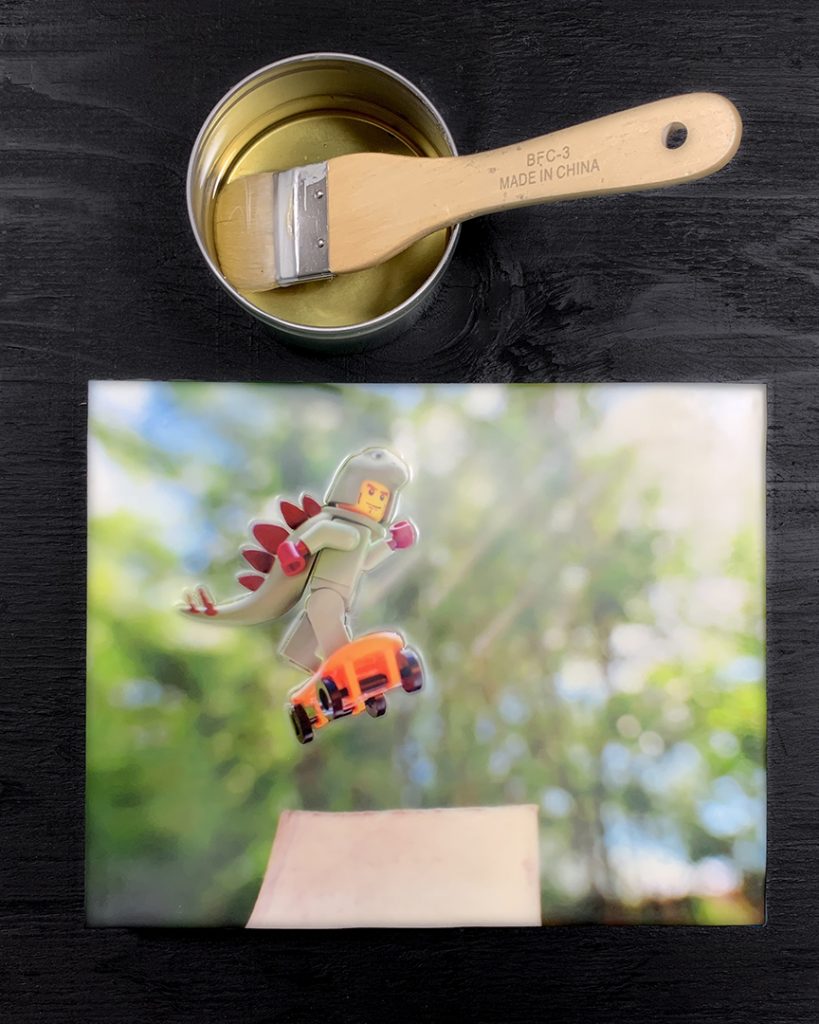
The next step is my favorite part – layering on the encaustic medium. I melt the medium on a hot plate and then paint it directly onto the photograph. I will add several layers of medium, fusing between layers. I use a paint stripping heat gun to keep the encaustic fluid while it soak into and fuses with the photo paper. Because the wax is liquid when its painted on the surface of the photo I can use it to fill in the gaps created by adding additional layers of photo and mat board.
Step 4
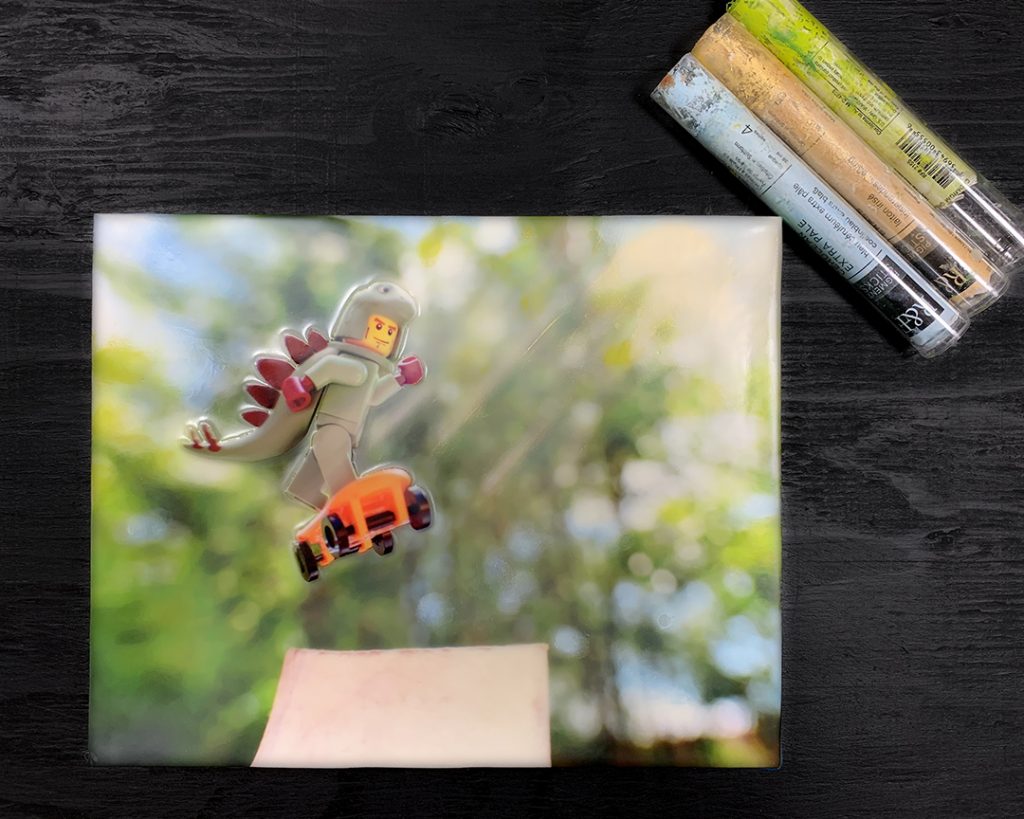
Once the encaustic medium is cured it’s time to get creative with the surface. This can include carving out excess wax, adding oil stick paints, or adding surface texture such as sand or even embedding text into the wax! One of the many fun reasons I love working with encaustic medium is its flexibility. It inspires creativity and play.
Step 5
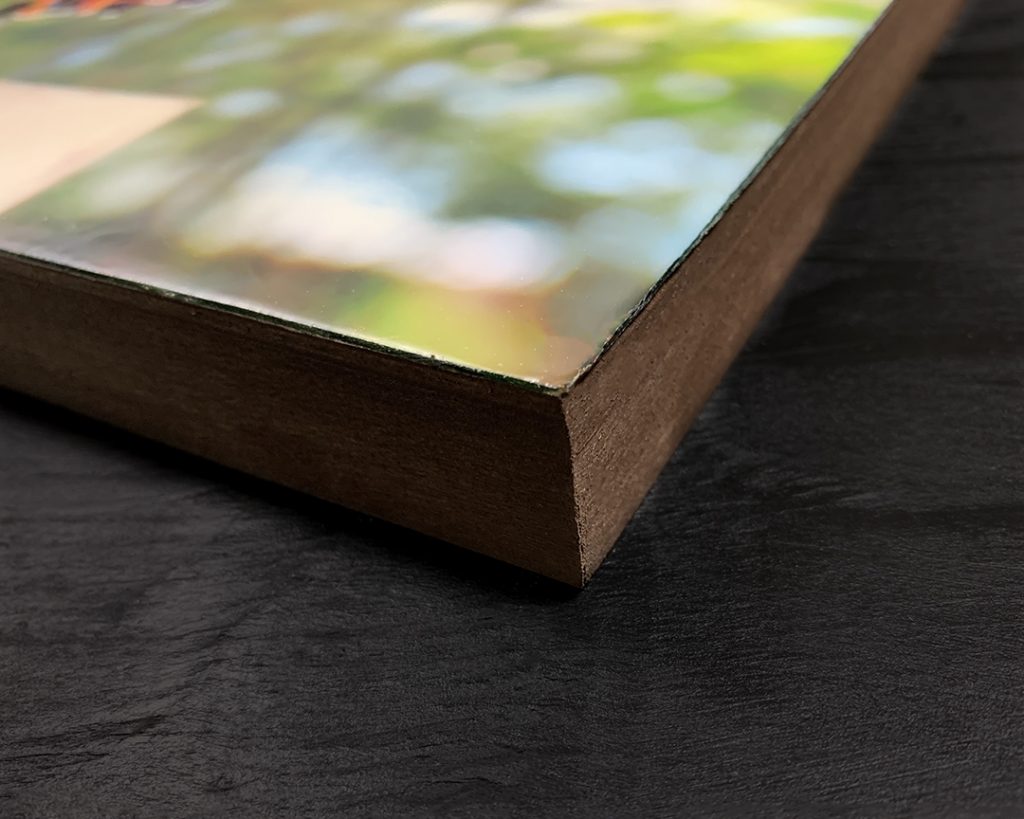
The final step for each finished piece is sanding and staining the edge. Once this is completed I’m able to add wire for hanging and of course sign each piece.
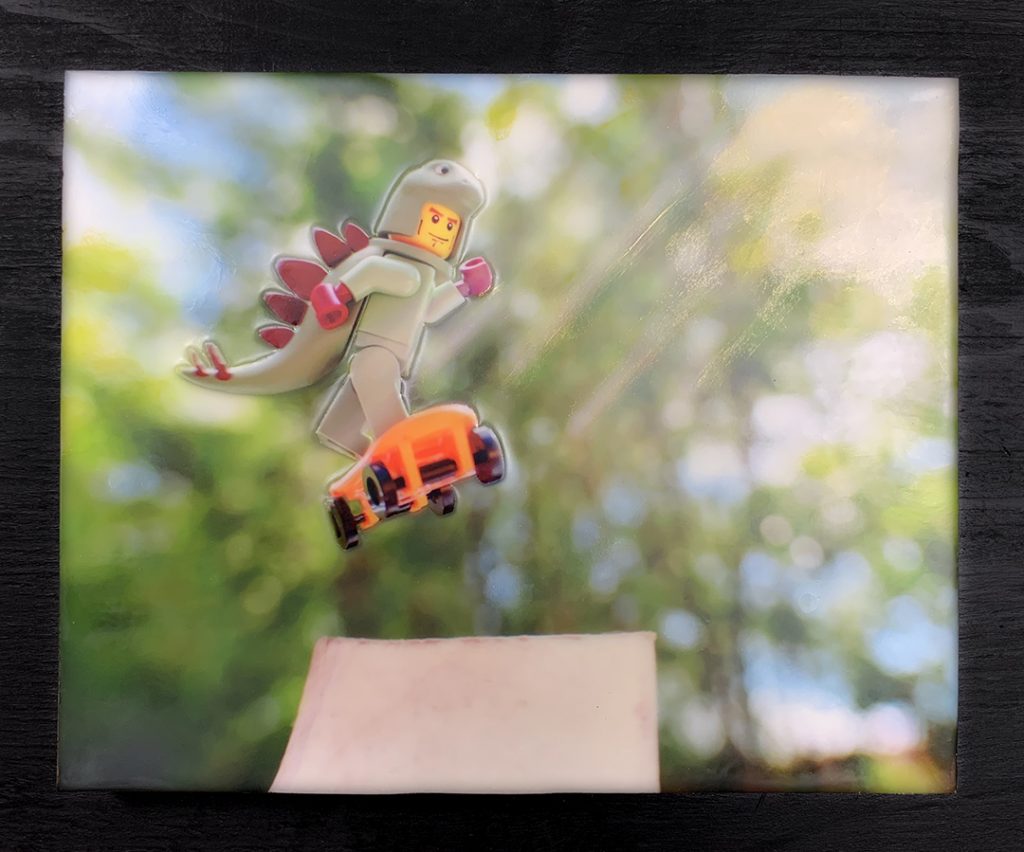
Final Image!
I hope you enjoyed this step by step look at my process. If you have any questions, feel free to reach out at sjcorbett@mac.com